
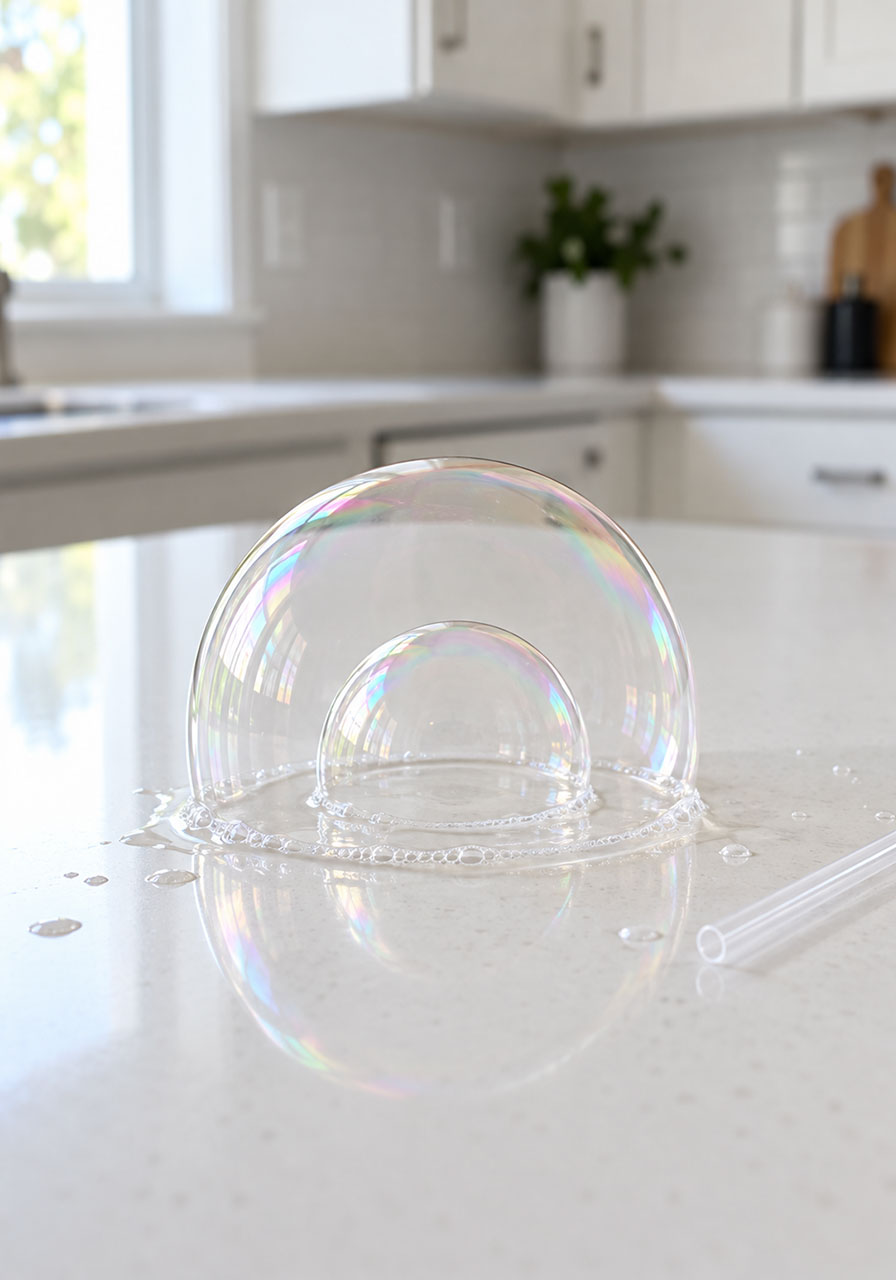
Unpoppable bubbles are a simple indoor science activity: you blow a dome-shaped bubble on a wet countertop, then slide a wet straw through its wall and blow a second bubble inside the first. All you need is water, sugar, dish soap, and a straw. Setup takes about five minutes, so it works well for a rainy afternoon when the backyard is off the table. This guide covers the recipe, the technique, and the small details that keep your bubbles from bursting.
One quick note on the name: these bubbles can still pop. They are just much tougher than regular bubbles, as long as everything they touch is wet.
Unpoppable Bubbles at a Glance
- Best for: rainy days, simple science lessons, and quiet indoor play with an adult nearby
- Setup time: about 5 minutes
- Mess level: moderate. The surface gets wet and slippery, so keep paper towels close.
- Skill needed: a slow, gentle breath and a steady hand
What You’ll Need
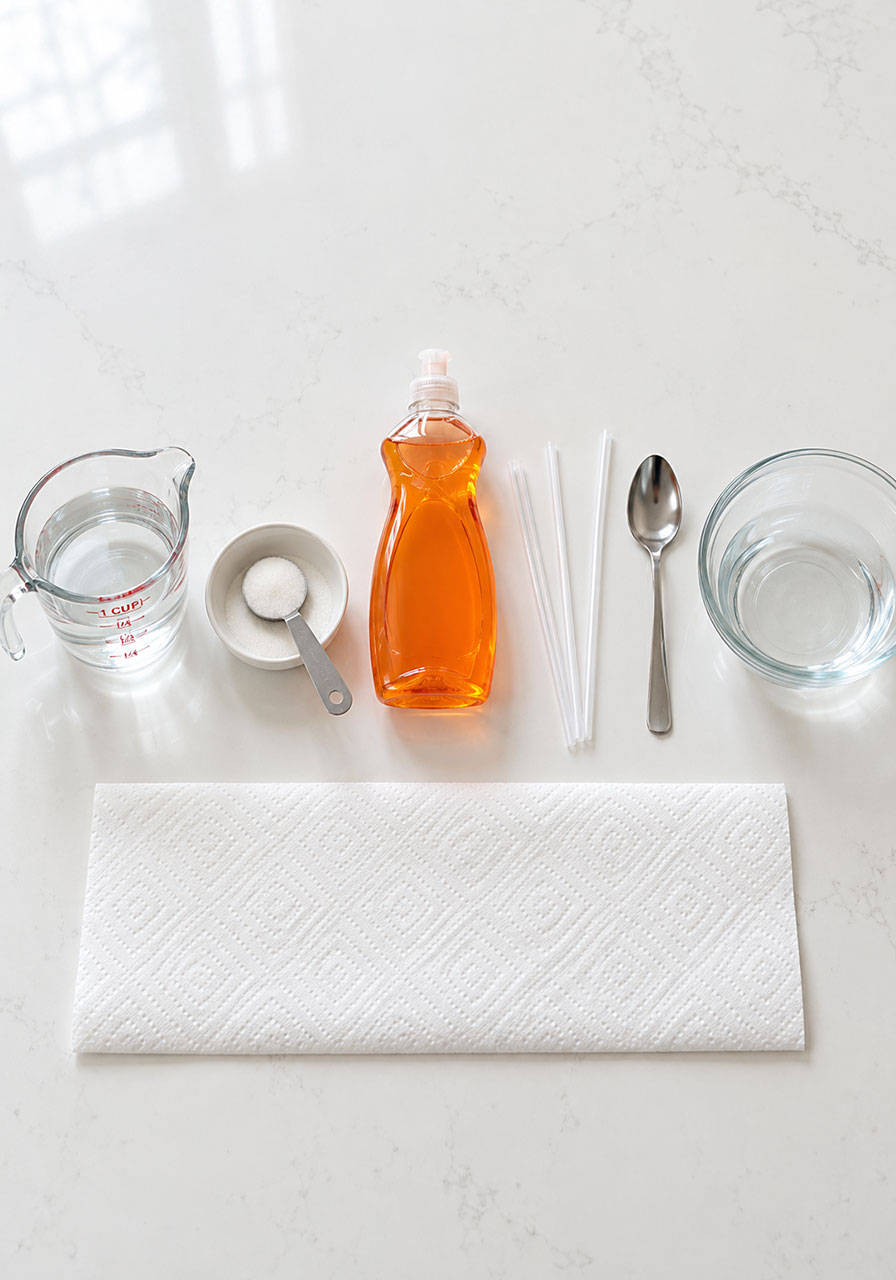
- 1 cup water
- 1 tablespoon granulated sugar
- 2 tablespoons liquid dish soap (the hand-washing kind, not dishwasher detergent)
- Drinking straws, one per child plus a few spares
- A cup or bowl for the bubble solution
- A spoon for stirring
- A smooth, clean, non-porous surface, such as a kitchen counter, a baking sheet, or a large tray
- Paper towels or a damp cloth for spills
How to Make Unpoppable Bubbles
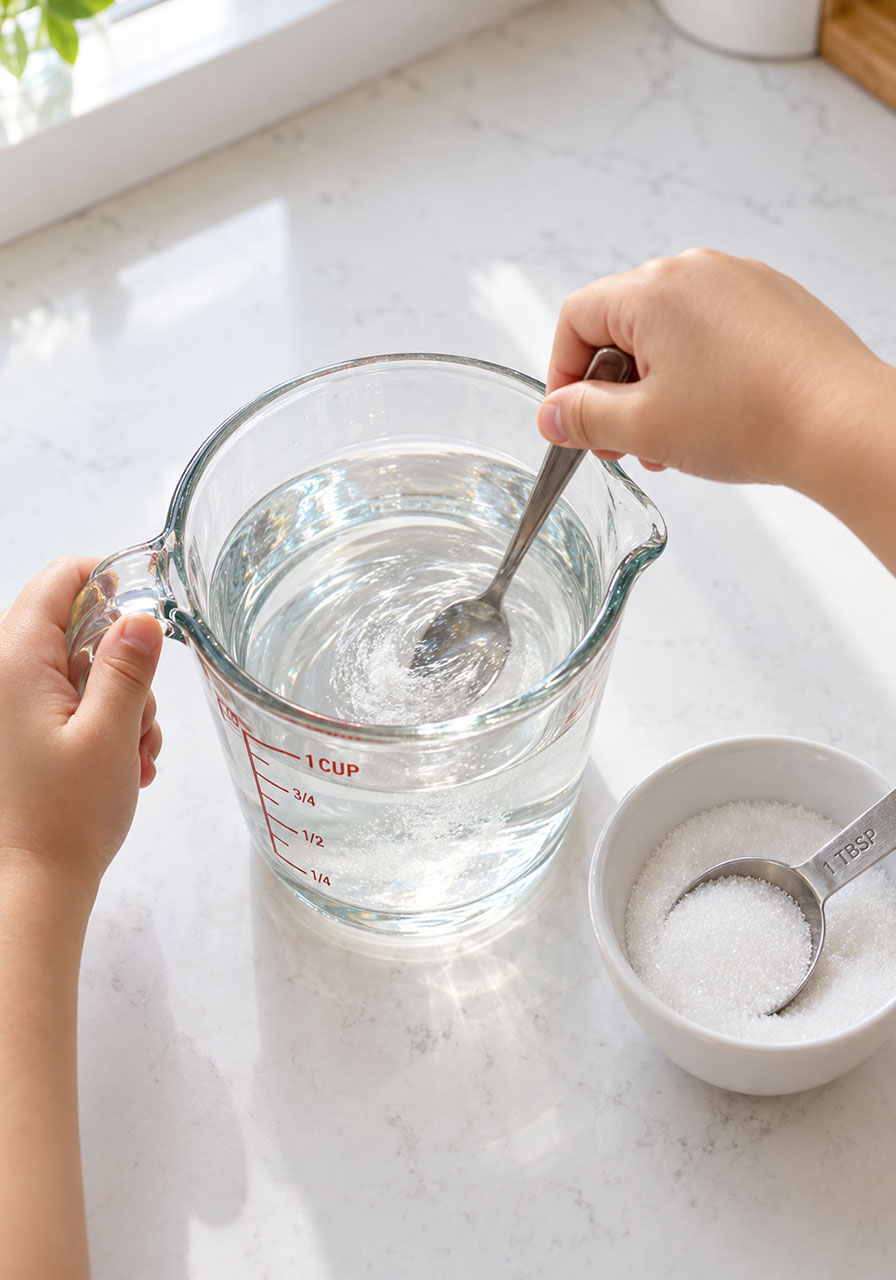
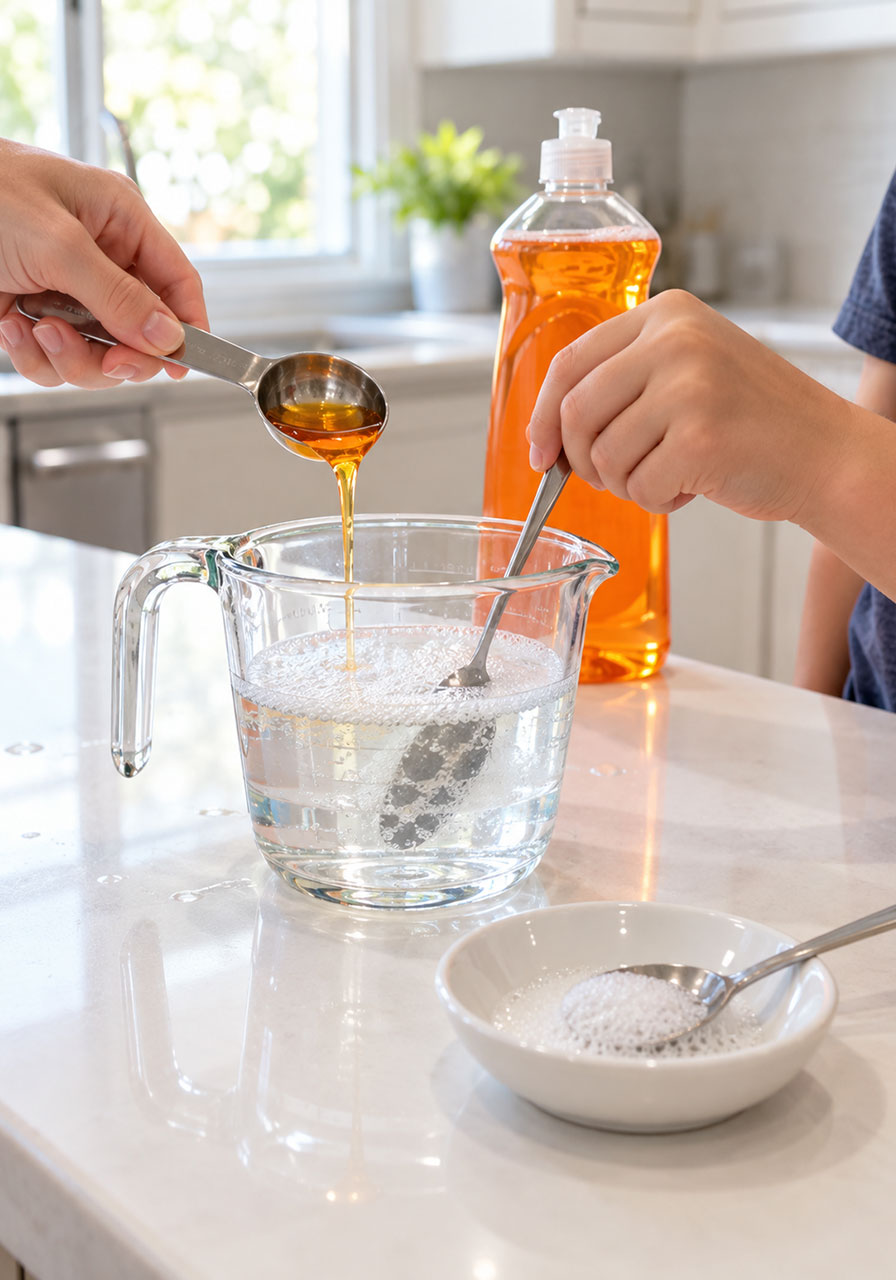
Step 1: Dissolve the sugar in the water
Add 1 tablespoon of sugar to 1 cup of water and stir until you can no longer see any sugar crystals. Slightly warm water dissolves sugar faster, but let it cool to room temperature before the kids use it. Undissolved grains can leave a gritty, sticky film on your surface and may make bubbles pop.
Step 2: Stir in the dish soap, slowly
Add 2 tablespoons of dish soap and stir with slow, gentle strokes. You want the soap blended in without whipping up a lot of foam. If a layer of foam forms on top, scoop it off with the spoon.
Step 3: Prepare the bubble surface
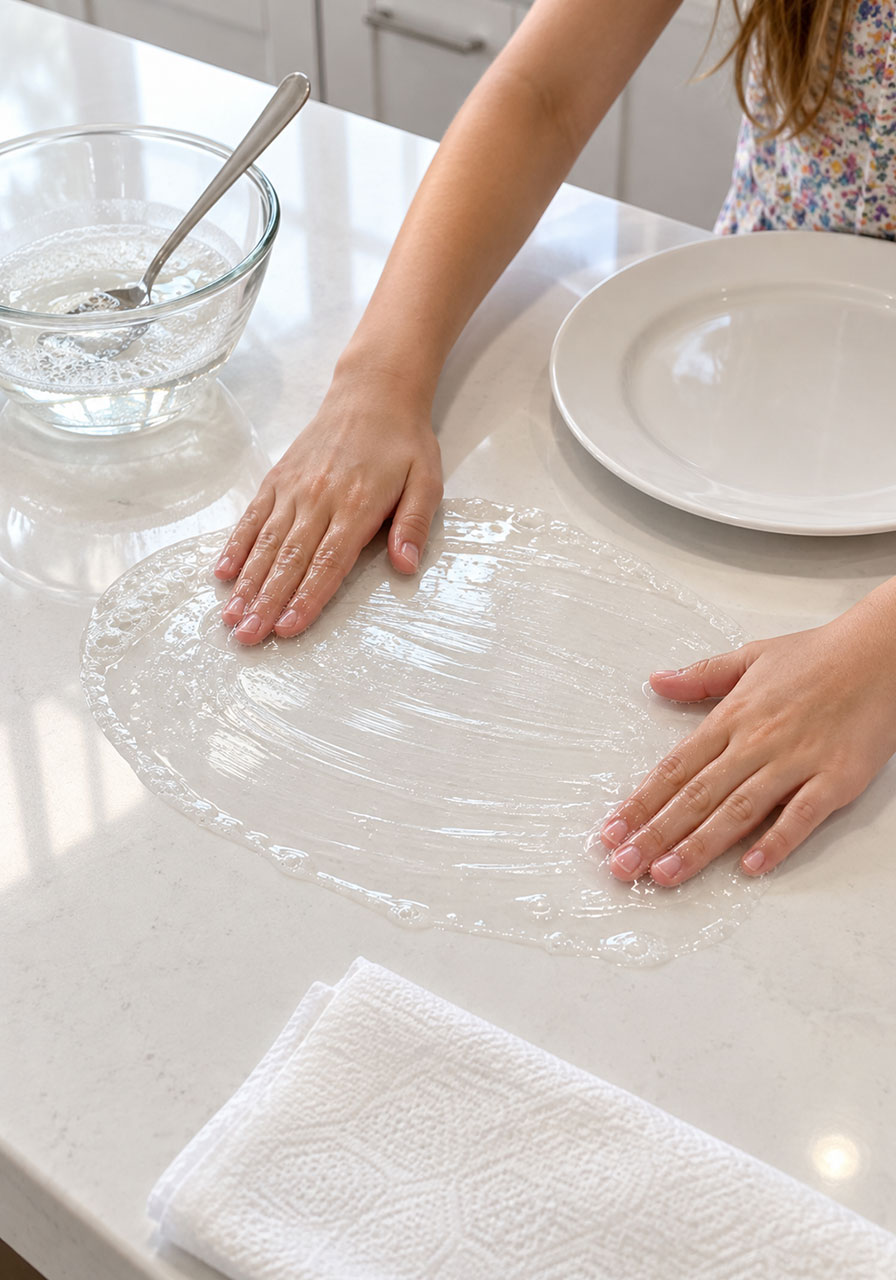
Wipe the surface clean first. Crumbs, dust, and dry sticky spots can all pop a bubble. Then pour a few spoonfuls of solution onto the surface and spread it into a thin, even patch, roughly the size of a dinner plate. Wet your fingertips in the solution before spreading it, because dry or oily hands can break the bubble film.
If you’d rather protect your countertop, do this on a baking sheet or tray.
Step 4: Blow the first bubble
Dip one end of the straw into the solution so it is thoroughly wet. Hold the wet end just above the soapy patch, close to the surface but not touching it, and blow slowly and gently.
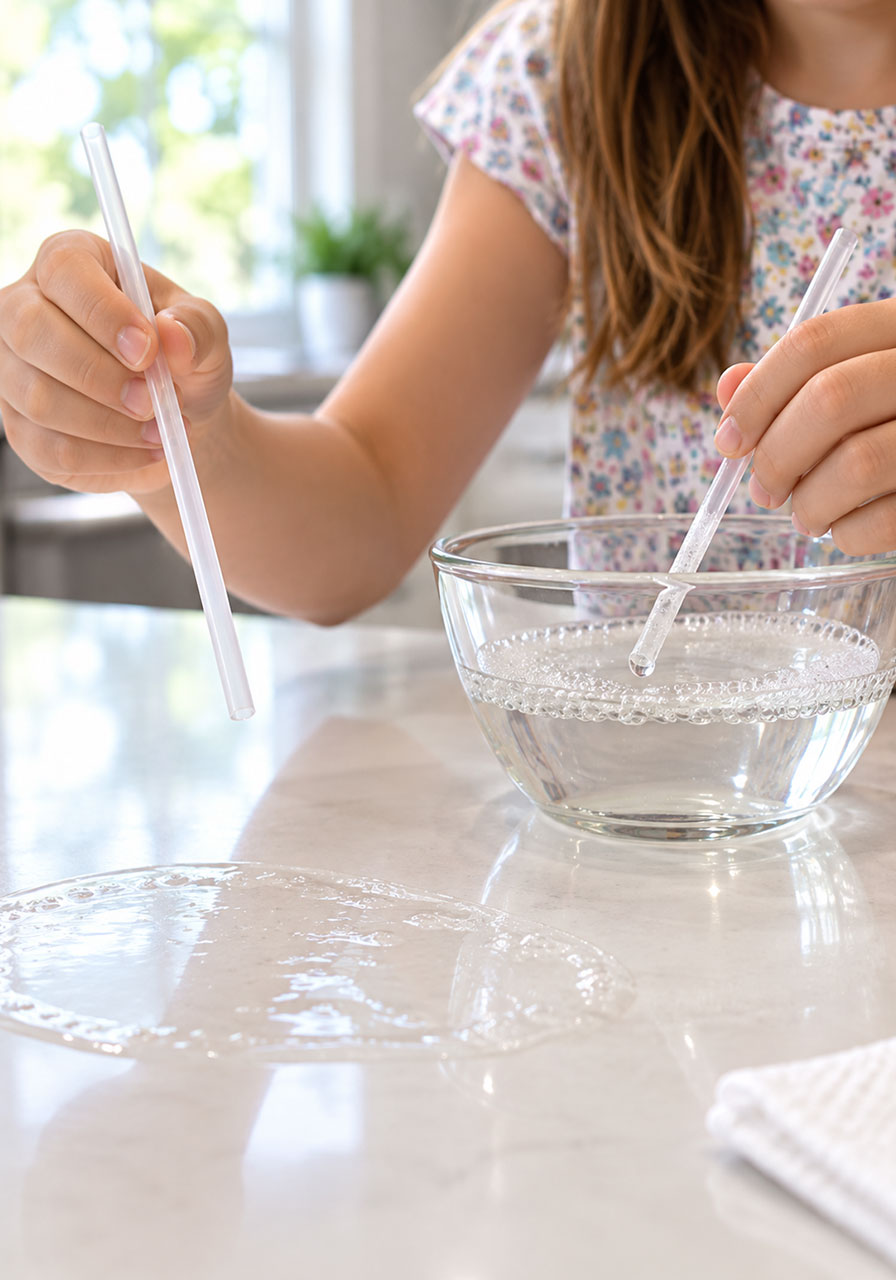
A dome-shaped bubble will grow on the surface. Ease the straw away once the bubble is about the size you want.
Step 5: Blow a bubble inside the bubble
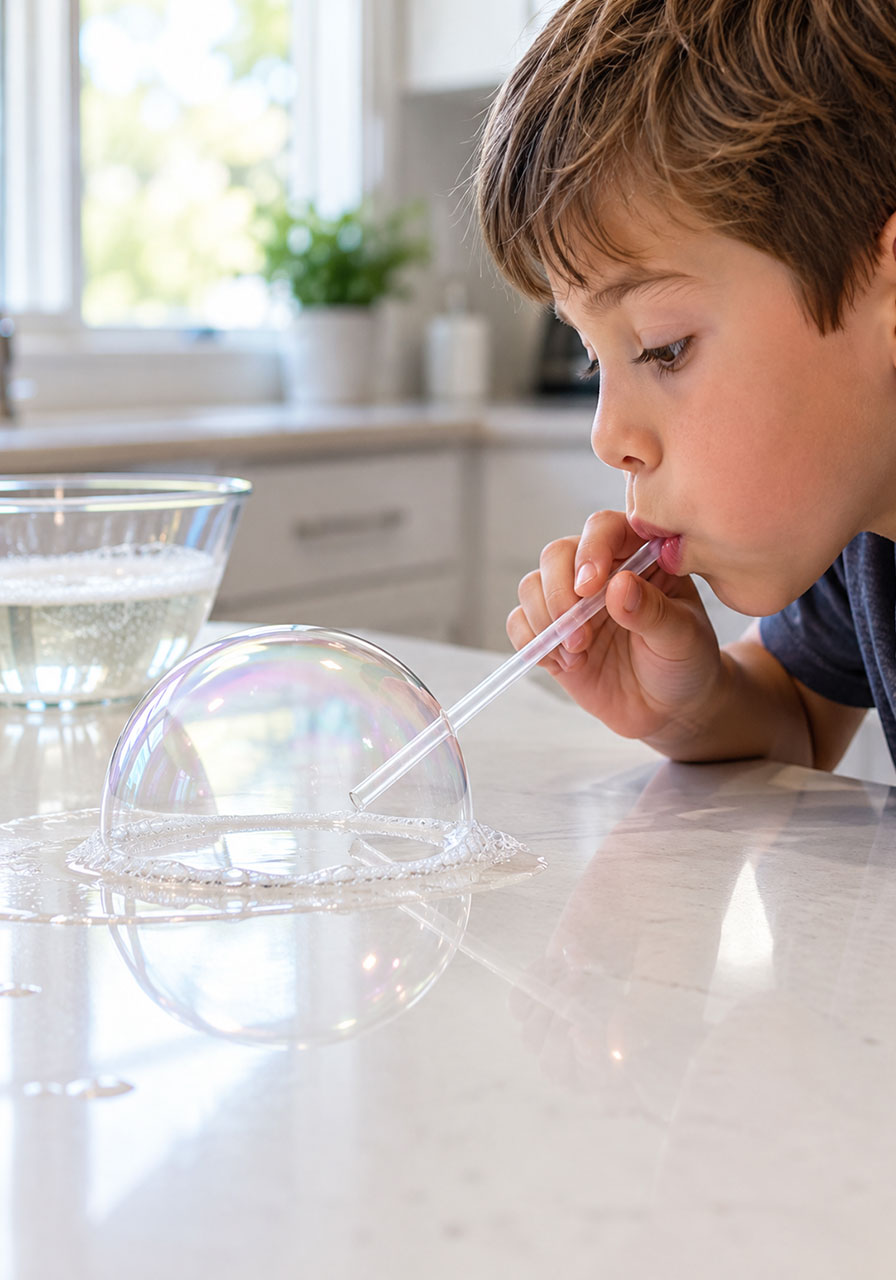
Dip the straw back into the solution again. This step matters most: the straw must be wet every time.
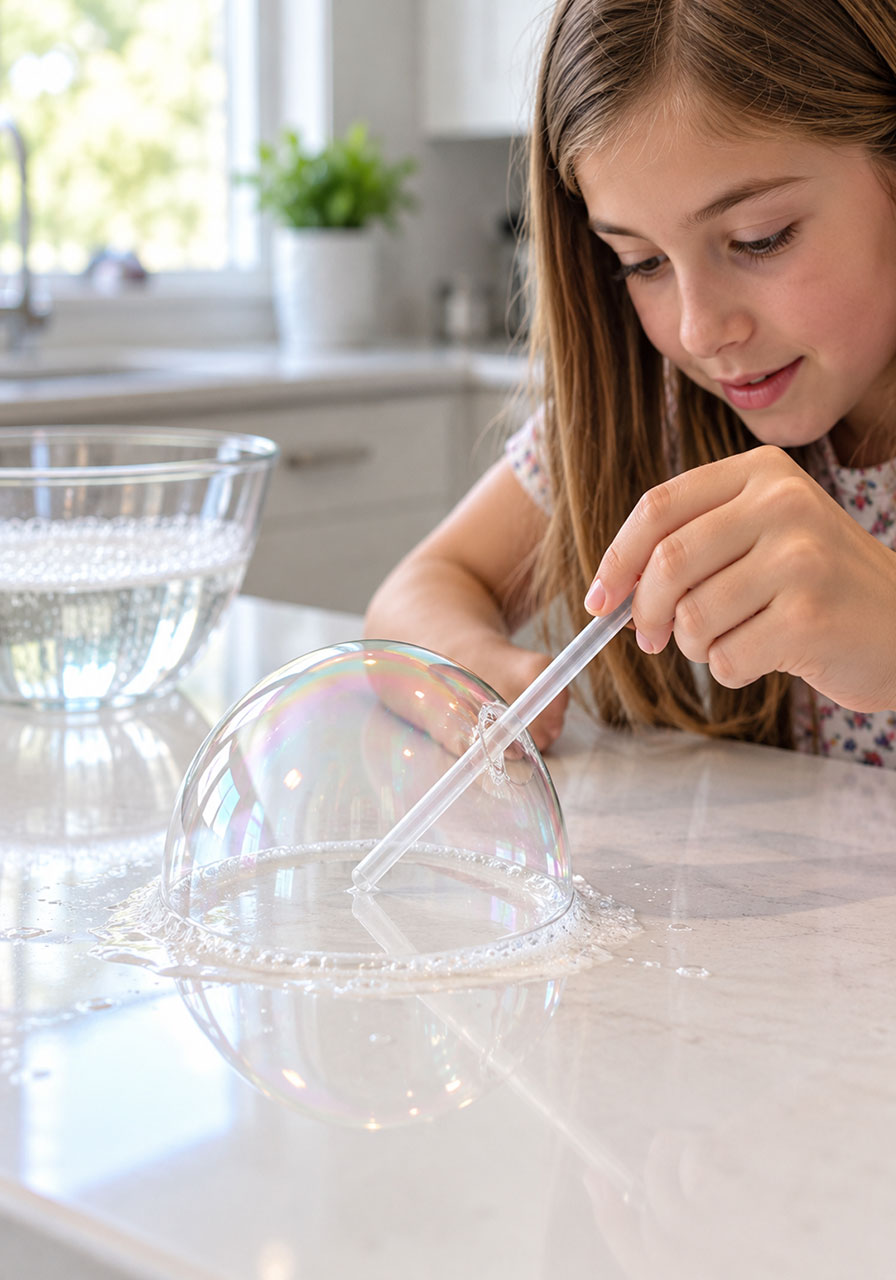
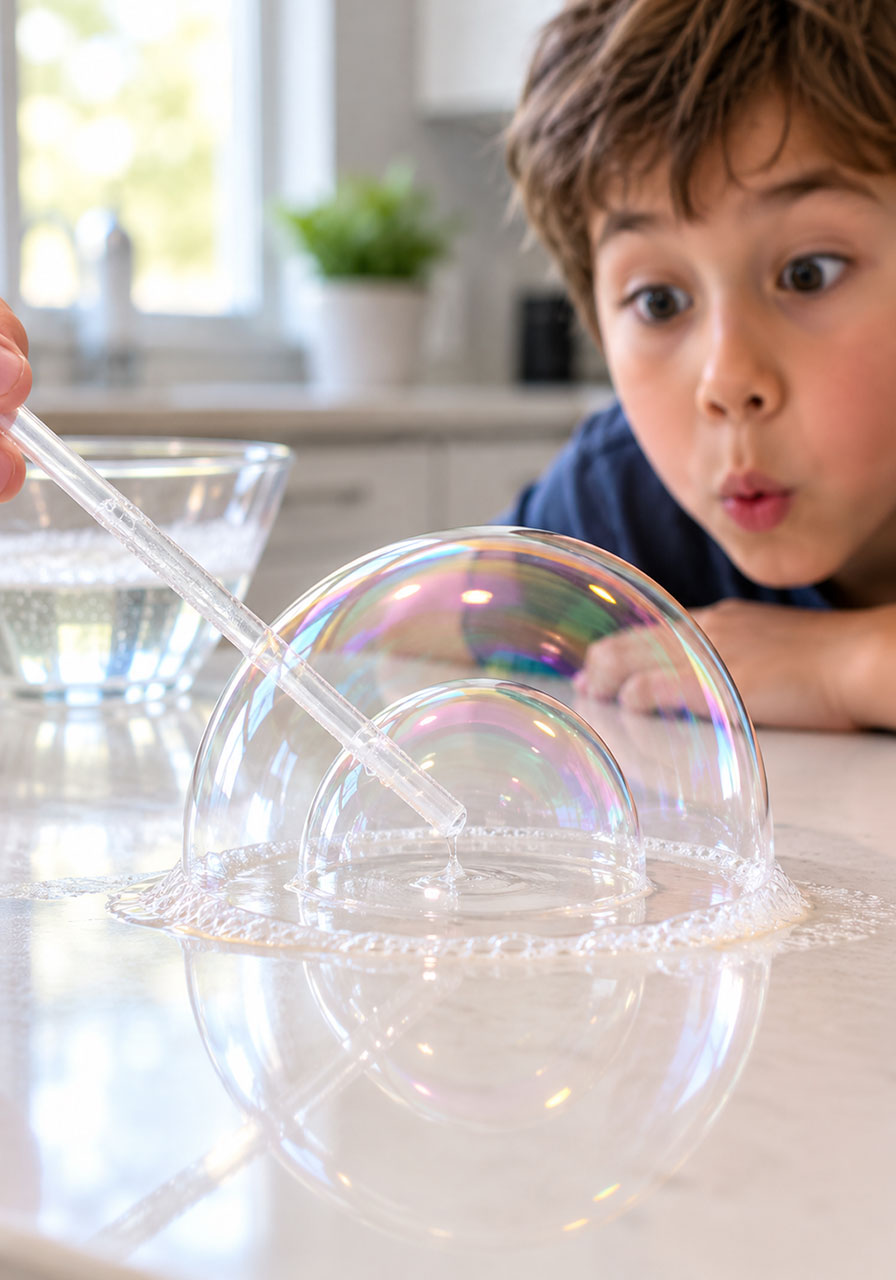
Slowly push the wet tip through the wall of the first bubble, blow gently to form a smaller bubble inside, then pull the straw back out. If the bubble pops, the straw was probably dry or moved too fast. Wet it and try again.
Step 6: Keep stacking
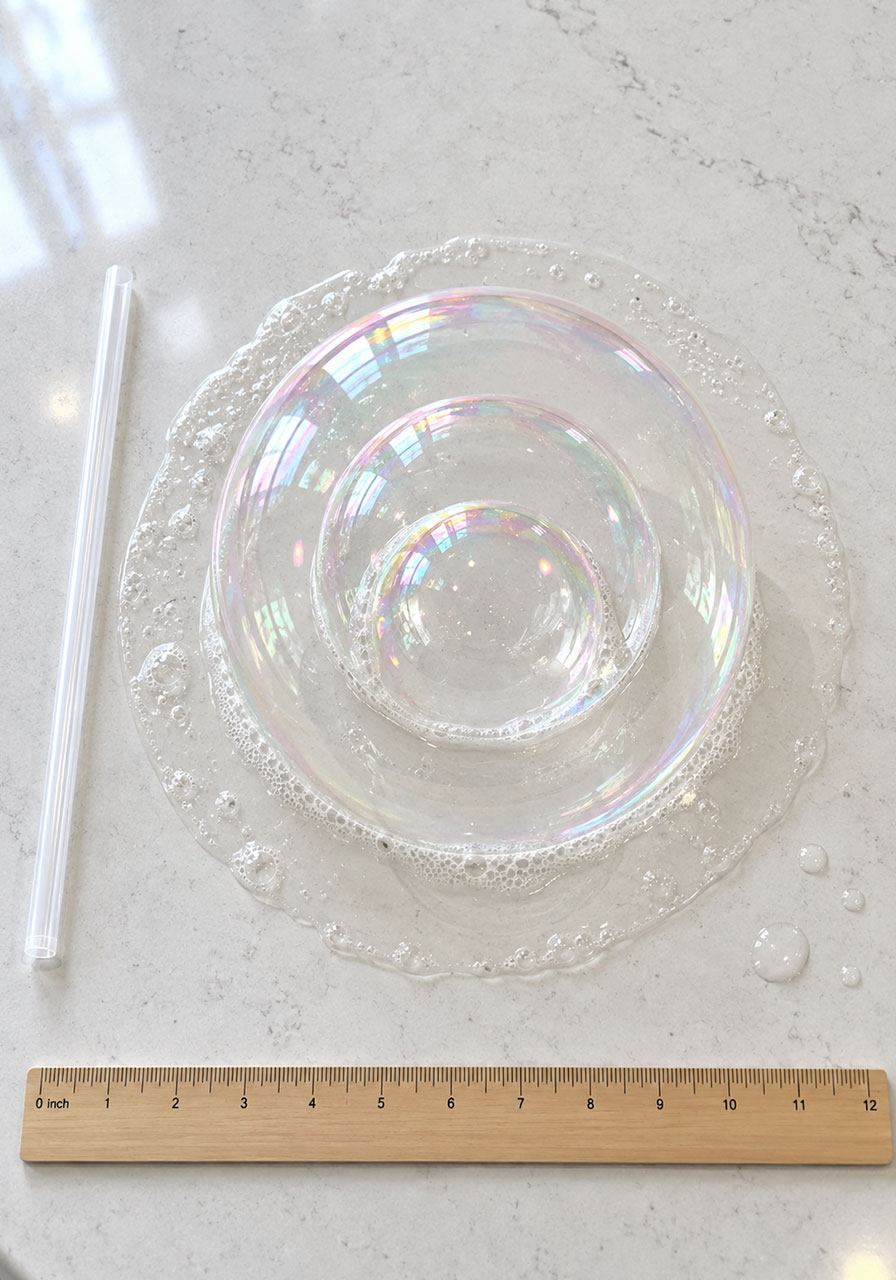
Repeat the dip, poke, and blow to add more layers. Each new bubble goes inside the last one. See how many layers you can build before the whole thing pops.
Troubleshooting: Why Do My Bubbles Keep Popping?
The straw was dry. Re-dip it before every single bubble.
The surface dried out. Add a little more solution and spread it back into a thin, wet layer.
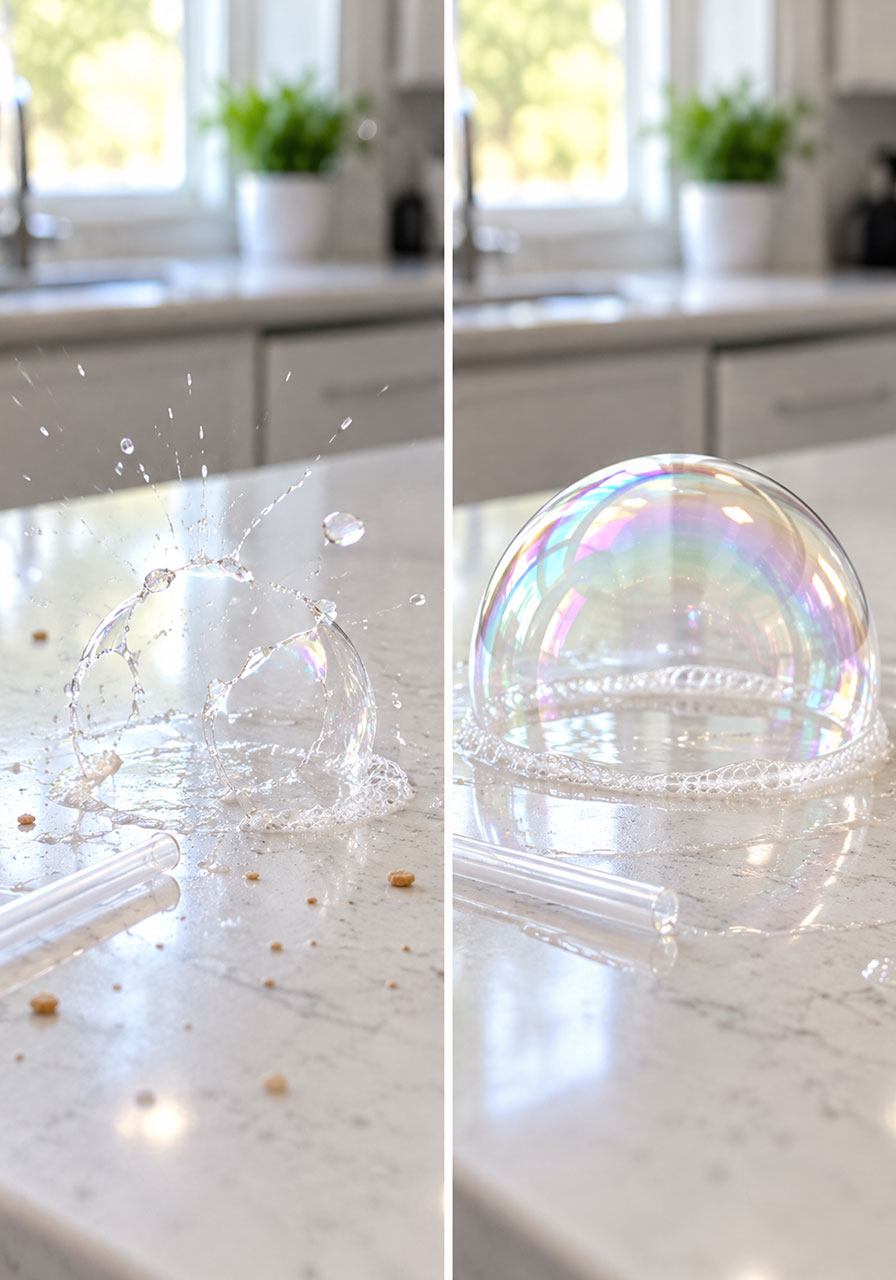
There are crumbs or sticky spots. Wipe the area clean and start again.
The sugar didn’t fully dissolve. Stir longer, or mix a fresh batch with slightly warm water.
There is too much foam. Skim it off, or mix the soap in more slowly next time.
The breath was too strong. Blow slowly and gently, like you’re fogging a window.
Your dish soap may not suit this recipe. Brands vary, so if nothing else helps, try a different one.
The Science Behind Unpoppable Bubbles
A soap bubble is a very thin wall of soapy water wrapped around a pocket of air. That wall is far thinner than a hair, which is why bubbles are so fragile. They usually pop for two reasons: the water in the wall slowly evaporates and the wall gets too thin, or something dry touches it and tears a hole.
That is why the wet surface and wet straw are the real trick here. A wet straw can pass through the bubble wall without breaking it, and a wet surface keeps the bubble from popping the moment it lands. Sugar is added to many bubble recipes because it can slow evaporation, which helps bubbles last a little longer. How much it helps can depend on your dish soap, so it’s worth testing for yourself.
A simple experiment: make one batch with the sugar and one without, then compare how long a single bubble lasts in each. Change only one thing at a time, so you know what made the difference.
Safety Tips for Bubble Play
Blow out, never suck in. Remind children to blow through the straw and not to drink the solution. Dish soap is not food, and swallowing it can upset the stomach.
Keep an adult close, especially with younger children who are still learning to blow through a straw.
Protect eyes and skin. If solution gets in someone’s eyes, rinse with clean water. Dish soap can irritate sensitive skin, so have everyone wash their hands afterward.
Watch for slippery spots. Wipe up drips on the floor right away.
Check the soap label and follow the manufacturer’s directions for use around children.
Setting Up for More Than One Child
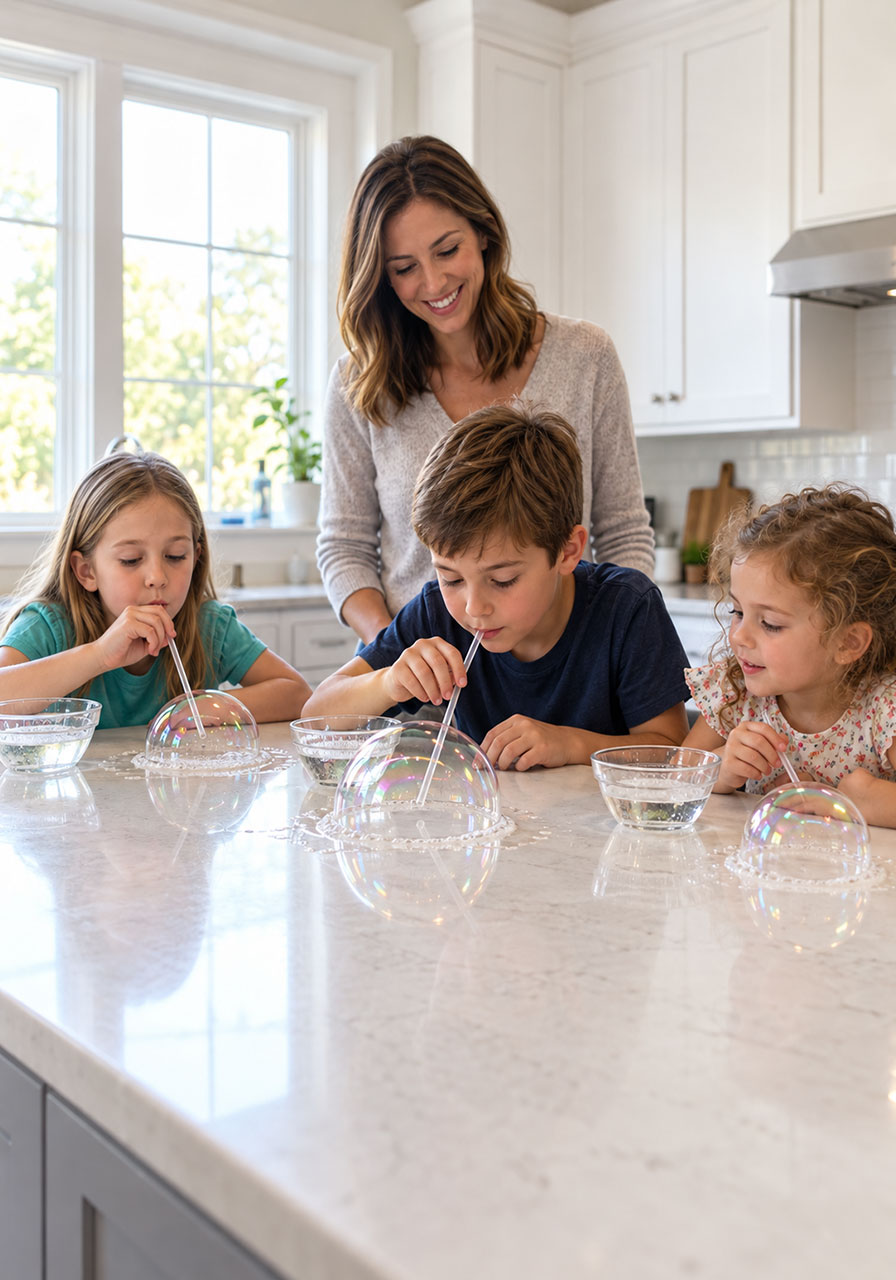
Give each child their own small bowl of solution and their own straw, so no one shares a straw and each child can dip whenever they need to. Several wet patches on the counter, or one tray per child, also help everyone take turns without crowding. This works the same way at a kitchen table, a classroom station, or a play date.
Fun Variations to Try
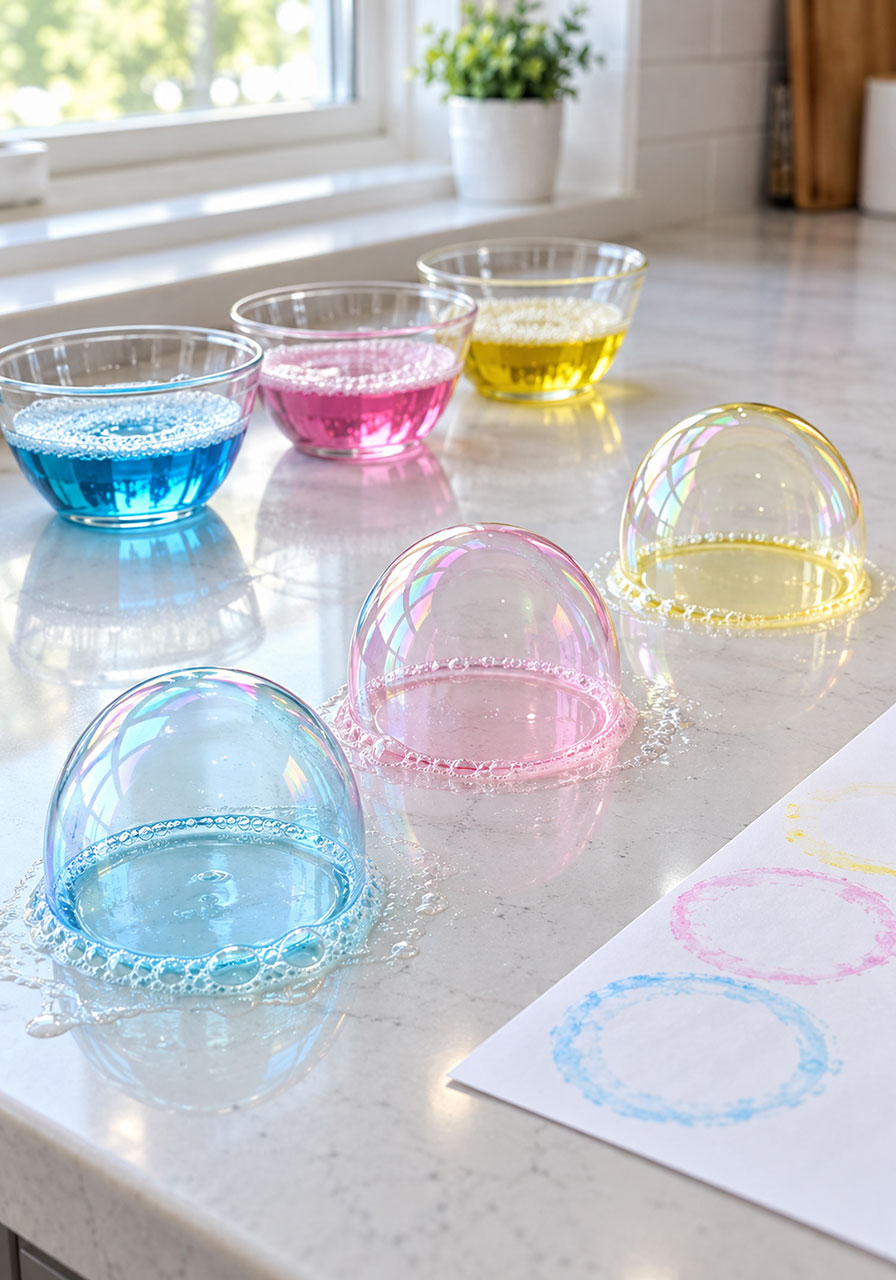
Colored bubbles: stir a few drops of food coloring into a small portion of solution. Wipe up spills quickly, since food coloring can stain some surfaces.
Bubble art: blow a colored bubble over a sheet of paper and let it pop to leave a ring of color.
Different surfaces: try a plate, a tray, and a baking sheet to see where bubbles last longest. Stick to smooth, non-porous surfaces.
Layer challenge: take turns and count how many bubbles each person can stack. Slow and steady usually wins.
Bubble timer: time how long a single bubble lasts, then try again with a different surface or recipe.
Cleanup
Wipe down the surface as soon as you finish. The sugar in this solution dries sticky, so it’s much easier to clean while it’s still wet. Rinse the straws and bowls, and pour leftover solution down the drain.